To waterproof a basement, start at the roof and the ground, and leave the expensive work for last. Deal with moisture made indoors, stop airing the basement with humid summer air, fix the gutters and downspouts, correct the grading, look after the window wells, then watch a real storm. Only if water still comes in is it time to consider an interior or exterior drainage system.
That order comes from the authorities. University of Minnesota Extension (UMN) puts gutters, downspouts and grading ahead of any drain because they “may solve the problem”. Building Science Corporation (BSC) says many problem cases can be solved with grading and surface drainage, and that it “might be futile” to correct foundation wetness without first addressing surface problems.
This page walks that order, step by step. Lowest Floor sells and installs nothing and refers no one. If you don’t know where your water comes from, begin with how to find the source of a basement leak, then come back.
Stop first if any of these is true
- Standing water and the power is on. Do not go in. Iowa HHS says to turn off the electricity first, at the meter if you can, and to call the utility if you can’t do that safely. Read what to do first in a flooded basement.
- Water coming up a floor drain, toilet or tub. Treat it as sewage unless someone shows otherwise. No step on this page applies, so go to what to do when a floor drain backs up.
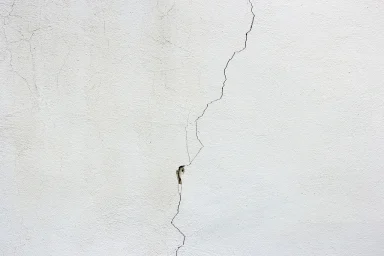
- A horizontal crack, or a wall that bows or leans. Have a structural engineer see it before you add soil, remove soil or sign any quote. Our page on horizontal cracks in a basement wall explains why.
Step 1: Rule out moisture from indoors
Not every wet wall is a leak. UMN says many homeowners take summer condensation for one: warm, humid air let in through open basement windows condenses on cool walls and floors. Vent the dryer and other indoor sources, and in summer stop ventilating with humid air.
Natural Resources Canada gives a simple test. Tape a sheet of plastic about 40 inches square to the wall and look after a day or two. Water on top of the plastic points to high moisture in the room, and water underneath points to moisture coming through from the ground. If the room is the source, regrading won’t change it and a drain has nothing to collect, so continue in our guides to damp, mold and basement air.
Step 2: Move the roof water
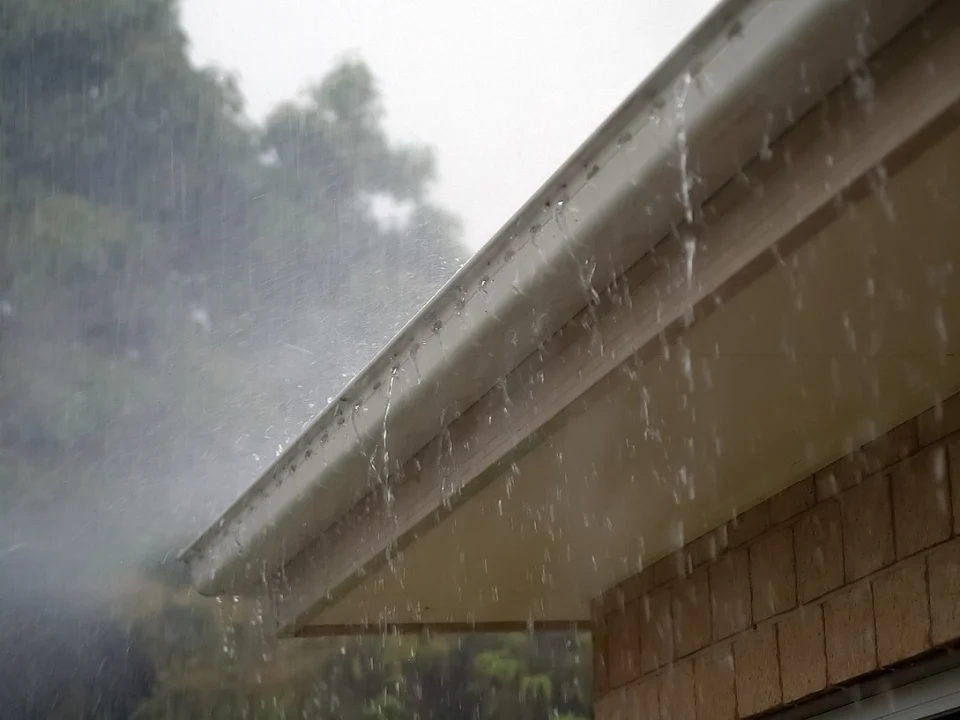
In a 1-inch rain, a 2,000-square-foot roof sheds about 1,247 gallons. With four downspouts, about 312 gallons lands at each one, in a single spot. UMN calls a downspout with no extender or splash block “worse than no downspout at all”, and it wants extensions discharging at least 4 feet beyond the wall.
Published distances run from 4 to 10 feet, and none is a national rule for existing homes. Our roof runoff and downspout extension calculator shows your own water beside the 4, 5 and 6 foot marks. The ground at the end has to carry the water away, and it can’t end up at a neighbor’s wall. BSC adds that roof runoff must not go into the perimeter foundation drain.
Step 3: Slope the ground away
Grading follows the roof water because a downspout that still empties at the wall can wash out new soil. UMN adds that backfill beside a house often settles.
The figures differ. The 2024 International Residential Code (IRC), section R401.3, asks for 6 inches of fall within the first 10 feet. It’s a model code for new houses, so check your local adoption. UMN asks for at least 1 inch per foot for at least 6 feet to correct a wet basement. Our grading slope calculator sets a string-and-stake reading from your own wall beside the published figures.
The catch is at the wall. IRC R404.1.6 has concrete and masonry foundation walls extend at least 6 inches above finished grade, or 4 inches with masonry veneer, so the room to add soil may be only a few inches. Where a lot line or other barrier prevents the slope, R401.3 calls for drains or swales instead. Contact 811 before you dig.
Step 4: Check the window wells
UMN calls window wells “like a drain right next to the basement wall”, so anything flowing toward one ends up against your foundation. The roof and the ground decide how much water reaches them, so wells come next. Clean out the well, run a hose test on a dry day, and check the rim and its fit to the wall. Caulk comes late, because a bead around the frame can’t hold back a well full of water.
Our guide to leaking basement windows, wells and fill covers the tests, and the IRC’s rules for escape windows, which limit what can go in a well.
Step 5: Wait for a real storm
After the surface work, wait for a storm like the one that caused the leak, then note where water appears first, on which wall, and how long after the rain starts. UMN says these corrections may solve the problem, but it makes no promise, and we found no measured figure for how often they do. You may see percentages for a fix on sales pages. We looked for a study behind such figures and didn’t find one. That doesn’t prove they’re wrong, but we don’t use them.
Water may still come in: BSC says groundwater problems can occur on a properly graded and drained site. The surface work still counts, because a drain’s load is whatever you’ve left in the ground. If water is rising through the slab, read water coming through the basement floor before you price anything.
Step 6: Consider drainage, if water still comes in
Drainage is the last of UMN’s steps, and coatings aren’t a substitute: UMN calls them temporary, because the water is still there. “French drain” is a loose term, so read what a French drain in a basement does and doesn’t do before comparing quotes. It catches water at the bottom of the basement. It doesn’t keep water out of the ground or off the wall. Then weigh the two routes.
| Route | What the sources say | Limits |
|---|---|---|
| Interior drainage | UMN: what most homes with water coming in get, with pipe under the slab the most effective interior type. BSC: the option where outside work isn’t practical or possible | The water still reaches the wall. Needs a working pump |
| Exterior drainage | UMN: “the most costly, but also the most effective water control approach”. BSC: “always preferable” to interior drainage | Means digging to the footing. Disrupts the yard, walks and plantings |
Neither source publishes a measured success rate. Our page on waterproofing basement walls from outside explains the layers and the job, including why a trench beside a house can collapse on the person in it. We give no do-it-yourself procedure for digging to a footing. Four questions follow either route:
- Is the wall stable? Cutting the floor edge removes something that may be holding the wall’s base in place. A wall showing any movement goes to an engineer before a saw or digger arrives.
- Is the water table too high? BSC calls a floor below typical groundwater levels “extremely risky” and leaves serious groundwater problems to geotechnical engineers.
- What happens when the power goes? FEMA’s urban flooding guide says sump pumps don’t work with the electricity off, and BSC says backup is needed because the power tends to go when it’s raining hard. Our sump pump guides cover backup.
- Where does the water end up? BSC says outflow left next to the foundation is simply recycled, and calls for a storm sewer or dry well away from it. Don’t send it to the sanitary sewer, and check with your city.
Before you sign anything
A firm selling a repair isn’t an independent inspection. Wisconsin’s consumer protection agency says waterproofing sellers there must give you a “seller’s analysis” of the problem, with the methods and materials, before the contract is final, and must put guarantees in writing. That binds Wisconsin sellers only, but you can ask any firm:
- What does the quote say the cause is, and what was tested to show it?
- What did they find at the gutters, downspouts and grading?
- Where does the pump discharge, and has anyone confirmed that with the city?
- What does the guarantee exclude? Wisconsin warns that many leave out common conditions such as damp walls.
The full checklist is in what to check before you sign for interior waterproofing.
This page is general information, not engineering, legal, insurance or medical advice. Codes are adopted locally, so check your local adoption and ask your building department. Your engineer, city and insurer decide what applies to your home.
Sources checked on 4 November 2026.